Good-Bye Popcorn Ceiling!
This post may contain affiliate links. Please read my Disclosure page for more information.
The weather is getting cooler, and it’s a perfect time to start working on interior projects for the house.
Before we put it on the market, we have a nice list of renovations we want to accomplish this fall/winter including:
- updating the kitchen
- updating the bathrooms
- painting the rooms
- replacing the flooring downstairs
- framing the windows and doors
- removing the popcorn ceiling
- updating the outdated fixtures
- painting the banister and railing
- painting the interior doors
It’s quite possible I have missed a few, but those are the main projects.
What better way to start than to begin from the top, down! So we started by scraping the popcorn ceiling in the kitchen.
We knew this was going to be messy- so we thought that this project should be completed before painting, replacing the kitchen floors, cabinets, countertops, and appliances. We went to the hardware store to buy the basic essentials- a spray bottle, tarp, respirator face masks, and popcorn ceiling scraper with a handle extender. First thing was first- clear everything out of the kitchen.

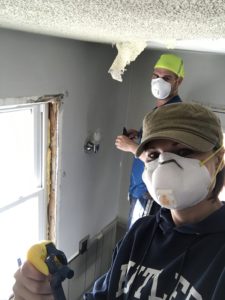
I’m on Spray-Duty & John is Scraping AwayThat Ugly Popcorn Texture!
This really made me realize how much extra stuff we have setting on our countertops that really isn’t necessary to have out. John unscrewed the light fixtures from the ceiling and taped up the wires. We laid down a large blue tarp that covered half of the kitchen, and I taped it along the walls so the dust wouldn’t fall down between the baseboards. We had done the prep work!
Now for the actual scraping.
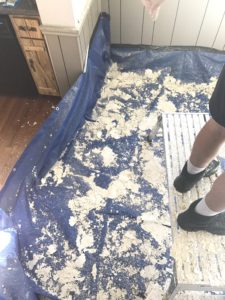
John stood on a short workbench and me on a chair. I sprayed the ceiling with water and he scraped. We quickly realized that the popcorn ceiling scraper from the hardware store was not going to hold up. The scraper was weak and bent easily, and the trash bag that attaches to it (to collect the ceiling pieces) grew heavy fast. So John just took a stronger handheld scraper with no bag, and we let the pieces fall on the tarp.
Another important note we learned was that I needed to spray the ceiling ahead of where he was going to scrape a good five minutes in advance in order for the water to soak into the ceiling. But it was also important to come back around and spray again just before he was going to scrape that section. In other words, as the “sprayer,” you are constantly spraying. But the wetter the ceiling was, the easier it was to scrape.

Removing Popcorn Ceiling is MESSY!
After removing all of the popcorn texture from the ceiling, John took some sandpaper to it to smooth some of the rougher spots. He also used spackle to fill in some areas where the ceiling needed holes filled in- for example, where the old light fixture’s screws were located.
Cleaning up our mess was the least fun.
Even with a tarp, the debris from the popcorn ceiling created a dust on every surface, all the way into the living room. We basically started wiping everything down from top to bottom. I found myself wiping the counters and moping the kitchen floor twice. But my goodness, the ceiling looked so much better!
We still needed to paint the ceiling white because even though it was nice and smooth, the color was somewhat uneven. We picked up some white, flat ceiling paint, a small brush to cut-in on the edges, and blue painter’s tape. The next morning we wiped down the ceiling to remove any dust leftover from the scraping- which created another mess on the floor. We definitely should have done this part the day before while everything else was still messy and dirty, but oh well! We also laid down a clear plastic drop cloth, which I taped along part of the wall in an effort to protect our kitchen floors.
After taping along the kitchen walls, we were ready to paint the ceiling. John started the trim and I decided to use the roller on the main section. It did not take long before we decided to switch- I was having a difficult time pushing the roller onto the ceiling. It requires quite a bit of arm strength, which is something that I lack. From there, it went smoothly. In fact, we ended up using more paint than we thought and ended up going into town for a 2nd gallon of paint.

John Using That Arm Strength to Paint the Ceiling
We are so happy we decided to take the plunge and remove the popcorn ceiling in the kitchen first.
It was the perfect sized room to experiment on, and overall, it turned out pretty good. We definitely learned some lessons- and I hope that by reading this post, you will be able to gain some information about how to do this project on your own.

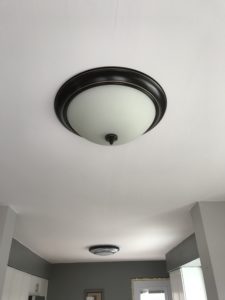
No More Popcorn Ceiling


